
Repairs & Restoration
How to Photograph Jewellery Damage for a Workshop Assessment
Good repair photographs help a workshop understand what needs to be examined. They are most useful when they show the damaged area in context, with enough clarity to distinguish a visible fault from a reflection or shadow. The aim is accurate documentation, not a sales image that makes the jewellery look flawless.
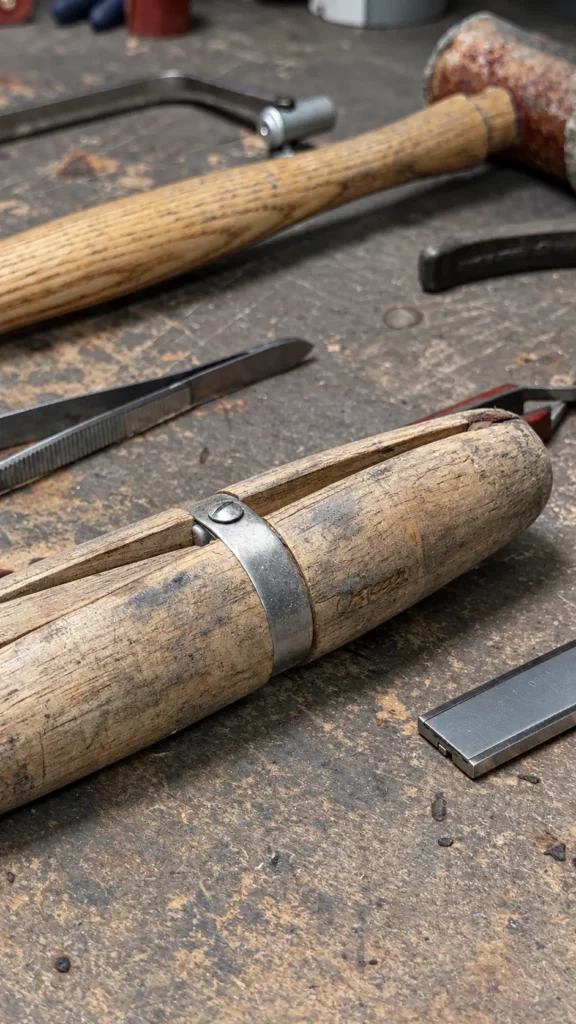
Good repair photographs help a workshop understand what needs to be examined. They are most useful when they show the damaged area in context, with enough clarity to distinguish a visible fault from a reflection or shadow. The aim is accurate documentation, not a sales image that makes the jewellery look flawless.
Photographs can support an initial enquiry and help identify missing information. They do not replace inspection of the metal, stones or moving parts. A clear submission should make that boundary easy for both the retailer and customer to understand.
Discuss photographing jewellery damage
Share an overview, side views and a focused close-up of the concern under one item reference.
Begin with an overall view
Place the item on a plain, stable surface and photograph the complete piece. Include both earrings when the job concerns a pair, or the whole chain when the break is only in one section. This establishes scale and shows how the affected area relates to the rest of the jewellery.
Keep the background simple and remove unrelated objects. Avoid placing a customer’s personal paperwork in the image. Assign the photograph to the correct job reference so a clear picture does not become separated from the item it describes.
Add views that explain the construction
For a ring, include the top, side and underside. For a clasp or hinge, show the relevant positions only where the mechanism can be moved without forcing it. For detached components, place them beside the item and identify them in the accompanying note.
A short image sequence is often more useful than many almost identical close-ups. Each photograph should answer a question: where is the fault, what is around it and how does the item fit together? The complete workshop job guide explains how those references connect to the written instruction.
Make the close-up readable
Use steady lighting and check focus on the area of concern before sending the image. Reflective metal may need more than one angle so that a bright highlight does not hide a split or worn edge. Include an unmarked original if an annotated copy is used to indicate the location.
Do not apply smoothing, heavy sharpening or filters that could change the apparent surface. If a size reference is included, position it carefully and avoid presenting an image measurement as a verified workshop dimension. Record separately which measurements were actually taken and how.
Before you approve the work
Check that the photographs explain the fault without implying a diagnosis the workshop has not made.
Describe observations in the accompanying note
Use plain descriptions such as the clasp does not close or the stone appears tilted. If the customer reports movement, say that it was reported unless it has been appropriately assessed. Do not manipulate a loose stone to create a more dramatic photograph.
Include known metal and stone information, previous repairs and the desired outcome. A&M’s repair enquiry asks for the complete item as well as the damaged area because a visible fault may not define the full scope. State any missing information openly.
Review the set before sending
Check that every image opens, is correctly oriented and belongs to the same item reference. Remove duplicates that add no information, while retaining the original files in the job record. If several items are being submitted, keep their photographs clearly separated.
Useful photography reduces avoidable questions and gives the workshop a more accurate starting point. It should document what can be seen, support the customer’s instruction and leave physical diagnosis to the assessment of the actual jewellery.
Plan the next step with A&M
Prepare an overall view, close details and a clear item reference to make the initial workshop conversation more useful.
Frequently asked questions
Is one close-up of a crack enough?
Usually an overview and additional angles are more useful. The workshop needs to see the surrounding structure as well as the visible fault.
Should photographs be colour graded to look professional?
For condition assessment, accurate appearance is the priority. Avoid filters or retouching that could alter the apparent colour, wear or surface detail.
Can photographs produce a final repair quotation?
They may support an initial discussion, but the final scope can depend on physical inspection. Do not present unseen condition as already confirmed.