
Finishing & Quality Control
Specifying Contrasting Finishes on the Same Jewellery Piece
Contrasting finishes can define the shape of a jewellery piece without changing its material. A polished edge beside a satin field, for example, depends on the position and character of the boundary as much as on either finish alone. The manufacturing brief needs to explain that relationship clearly.
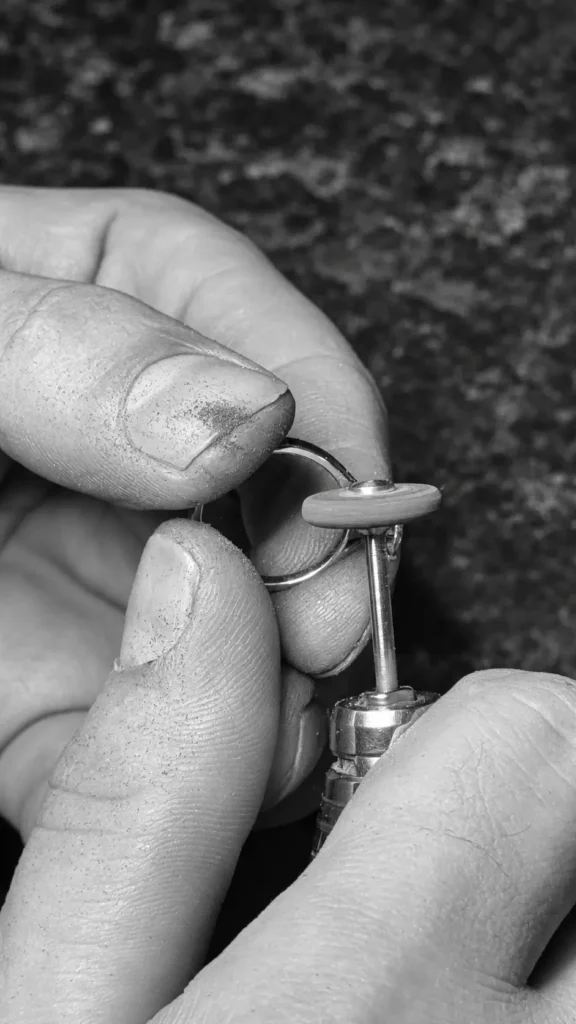
Contrasting finishes can define the shape of a jewellery piece without changing its material. A polished edge beside a satin field, for example, depends on the position and character of the boundary as much as on either finish alone. The manufacturing brief needs to explain that relationship clearly.
Avoid using a colour-coded render without a key. The workshop should know whether a visual difference represents another metal, plating or a different treatment of the same surface.
Discuss contrasting jewellery finishes
Map each finish to its surface and identify the intended transition.
Map the finishes to actual surfaces
Label each area and describe the intended treatment. Include the underside, edges and recesses where they form part of the visible or agreed result. A main front view may leave important transitions undefined.
Use the same labels across drawings, samples and messages. If one area changes during development, update the current reference rather than relying on a separate comment that can be missed during production.
Define the character of the texture
Terms such as satin or brushed can describe a range of appearances. Where consistency matters, agree a physical sample or a sufficiently clear reference produced under consistent lighting.
If direction is part of the effect, show it. A directional texture following a curve is different from one running across it. This is a design instruction that should be established before the finisher selects the working approach.
Agree the boundary itself
Specify where one finish stops and the other begins, including how the transition follows the geometry. A narrow border or curved junction may be a defining feature of the design and should receive its own inspection attention.
Avoid assuming that the boundary can be corrected indefinitely without affecting adjacent detail. If the first sample does not match the intention, review the specification and route before repeating the work across a batch.
Before the next production step
Approve the finish boundary as well as the individual textures.
Coordinate with assembly and other treatments
Discuss which areas become less accessible after joining or setting. If plating or engraving is included, confirm how it relates to the contrasting surfaces and what order the workshop recommends.
A&M’s polishing service and surface finish guide provide relevant context for the discussion. The quotation should describe the actual combination required rather than a generic finish label.
Approve the complete surface relationship
Inspect the sample in more than one view and under consistent lighting. Confirm the texture, direction, boundary and protected details together. A sample approved for one finish in isolation may not establish the intended contrast when both are present.
Keep the accepted reference available for repeat work. If a later batch uses a different material or geometry, assess whether the original sample still represents the required result.
Specify the contrast as a design feature
The finished effect depends on how the surfaces relate. A labelled map, clear texture reference and agreed boundary give the workshop a practical standard to reproduce and inspect.
Plan the work with A&M
A&M can assess your trade enquiry in the context of the actual piece and requested workshop stages. Bring the references discussed in this guide so the next decision can be made on clear information.
Frequently asked questions
Is a two-colour render enough to specify contrasting finishes?
Not by itself. Explain whether the colours represent different materials, plating or surface textures, and label the physical areas to which each instruction applies.
Should texture direction be included in the brief?
Yes, where it affects the design. Show the intended direction on the relevant surfaces so it remains consistent through sampling and repeat production.
Can one finish sample cover a curved and a flat surface?
It can provide a reference, but the effect may need assessment on the actual geometry. Agree what the sample establishes and whether another representative piece is needed.